Using email functions
Our guide to interacting with the Robinform Assistant over email

There are two ways to interact with the service: via email (functions) or via the dashboard. Email functions are the fastest way to create anything directly from where you already are—in your inbox—so we’re glad you’re here.
This is a quick primer on everything you can do with email.
Step one: Sign in
To do anything with the email functions you need to sign-in. You can either sign-in via the dashboard and reply to your sign-in email or sign-in right from your email.
To sign-in via email, just send a new email to robin@nest.robinform.com. You can also use hey@ or info@ or any other @ that you think of first. But you must send the email to something@nest.robinform.com. That is the subdomain that our assistant listens to emails on.
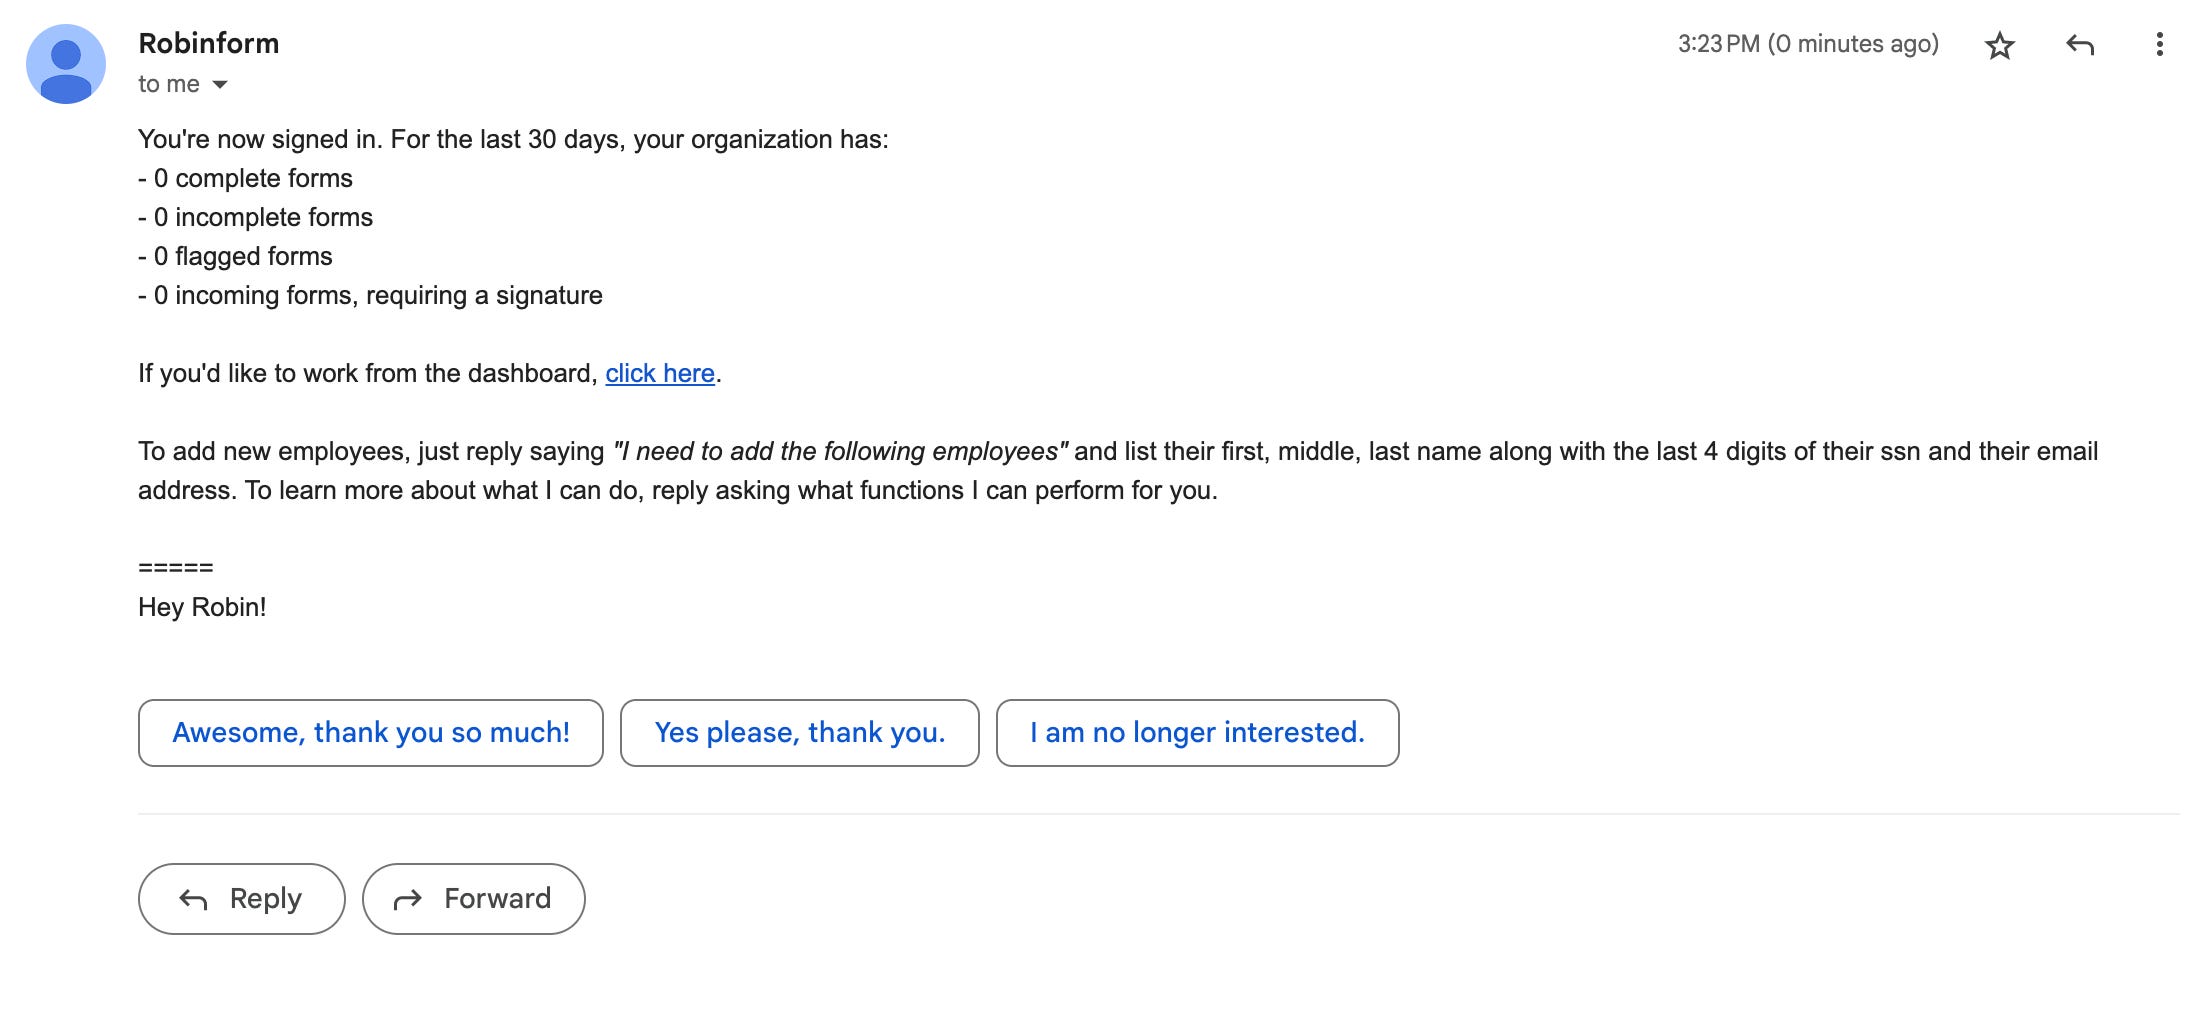
The response will tell you a bit about your organization’s status, give you a link to use the dashboard if you’d like, and remind you that you can reply and ask the assistant to perform functions on your behalf. For a primer on using the service via the dashboard, check out our guide on that.
Create forms
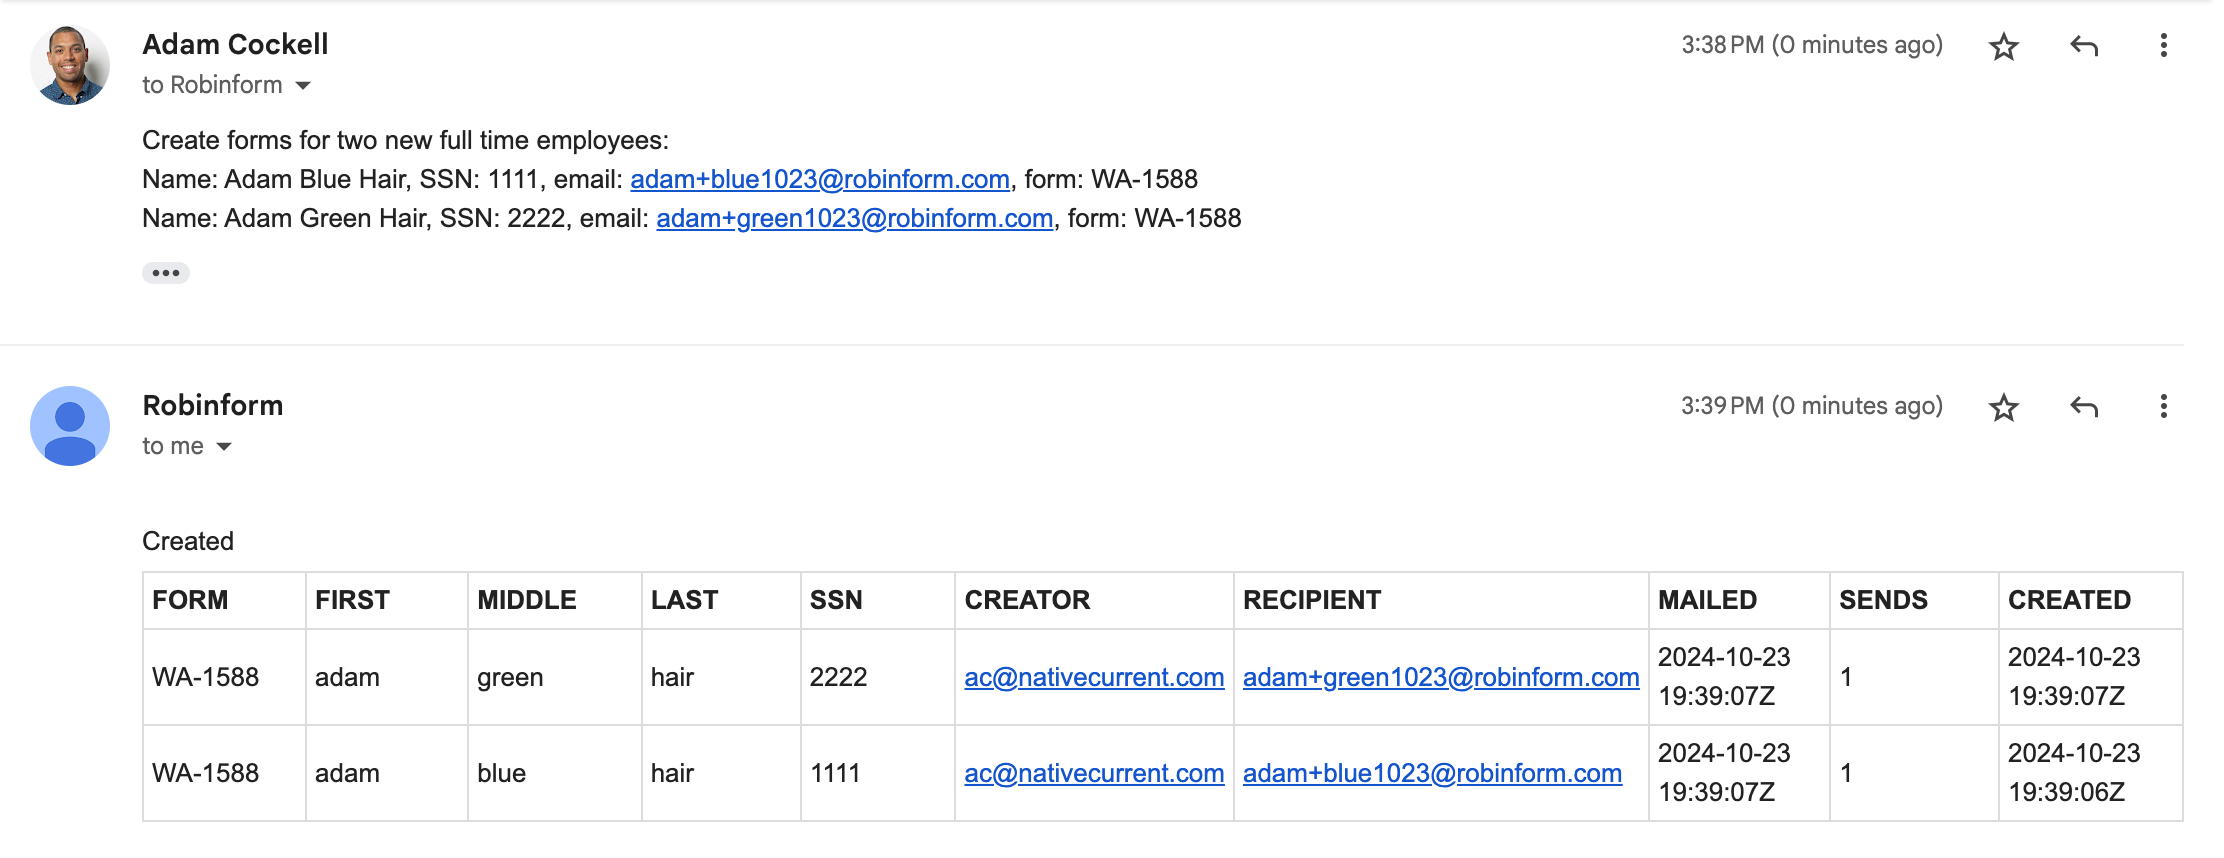
This is probably the function you will want to use most, so I will start here. In replying to the sign-in email, you can create and send forms to several new employees at once, without worrying about formatting. This means that you can easily copy/paste new employee information to email, and just hit send, provided you include all the required properties for the employee, and the form will be sent to the employees immediately for completion and signature.
You can add up to 100 employees at one time. To add the employees, specify the following:
Full Name: [first, middle, last]
Email: [email]
SSN: [xxxx]
Substitute: [True/false]
Temp/Contractor: [True/false]
Forms: [specify form to send]
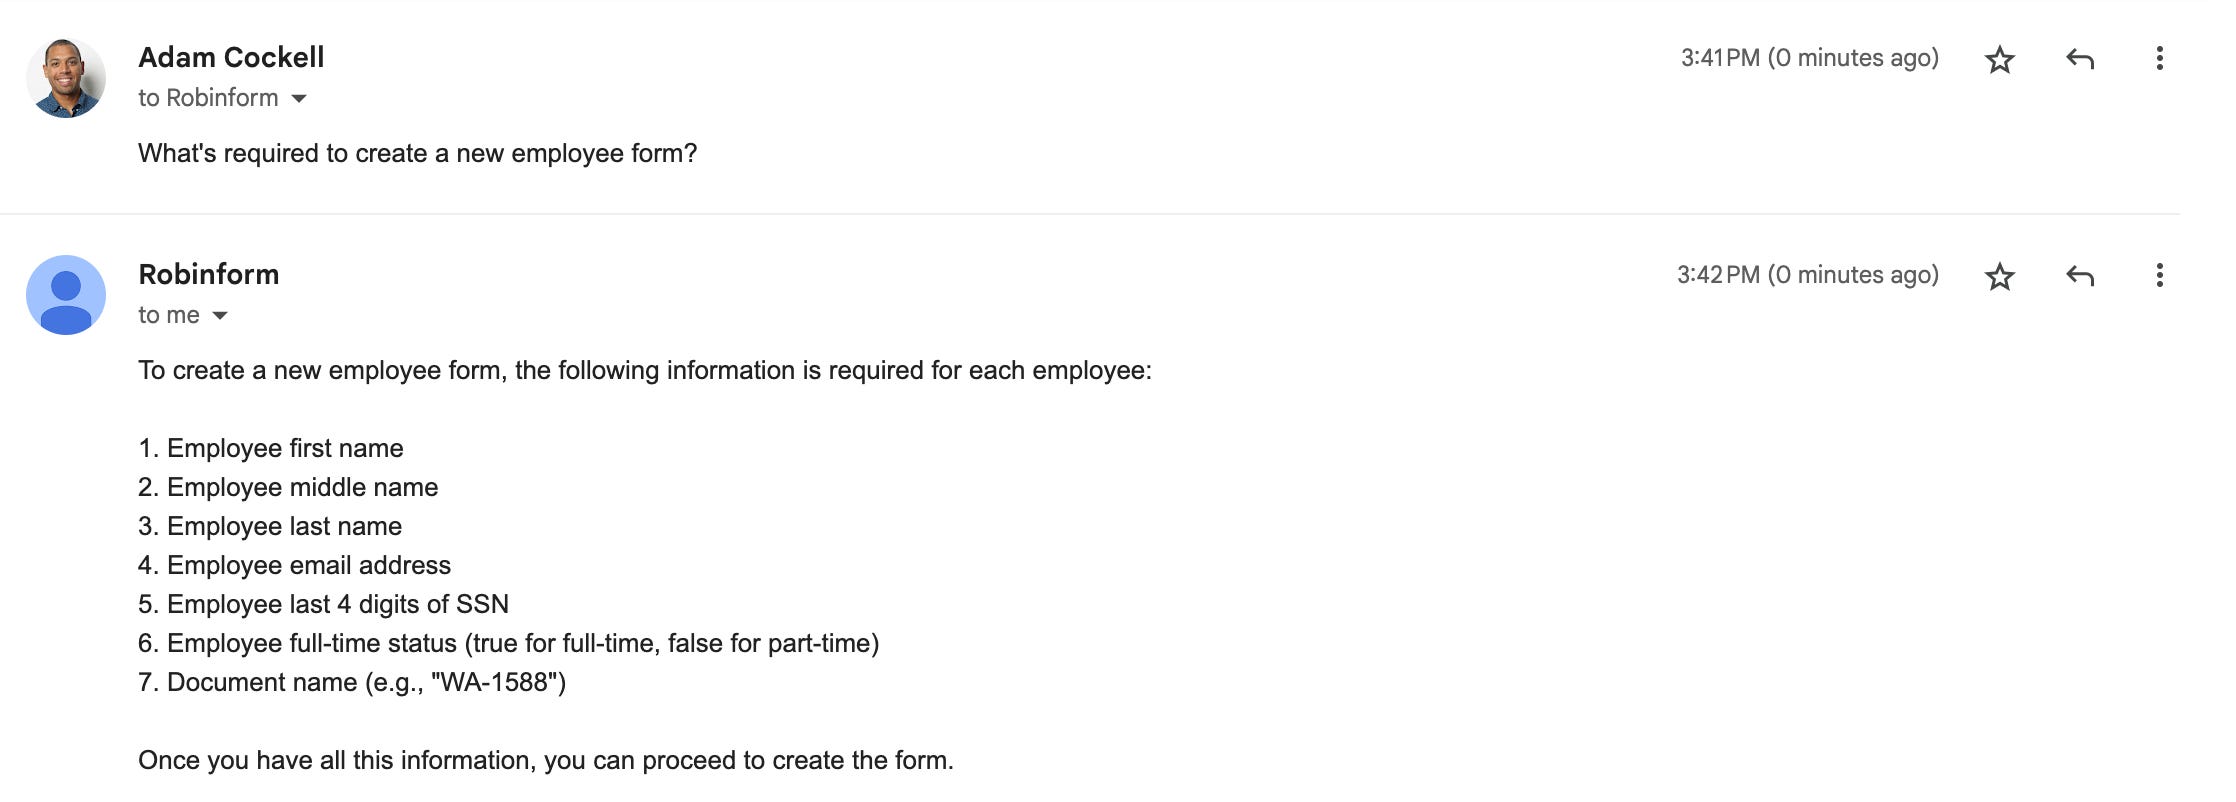
Not sure what’s required? Ask the assistant to tell you what’s needed to create a new employee form.
Keep in mind that the service automatically follows up with a reminder if a form has not been completed in 3 days.
Change email preferences
As you create forms, you become the default recipient of updates and notifications regarding completed forms. If you would prefer to opt-out of email notifications and rely on the dashboard for this, you can say that you’d like to disable email notifications for your account. Just reply to your sign-in email and request to disable email notifications for your account:
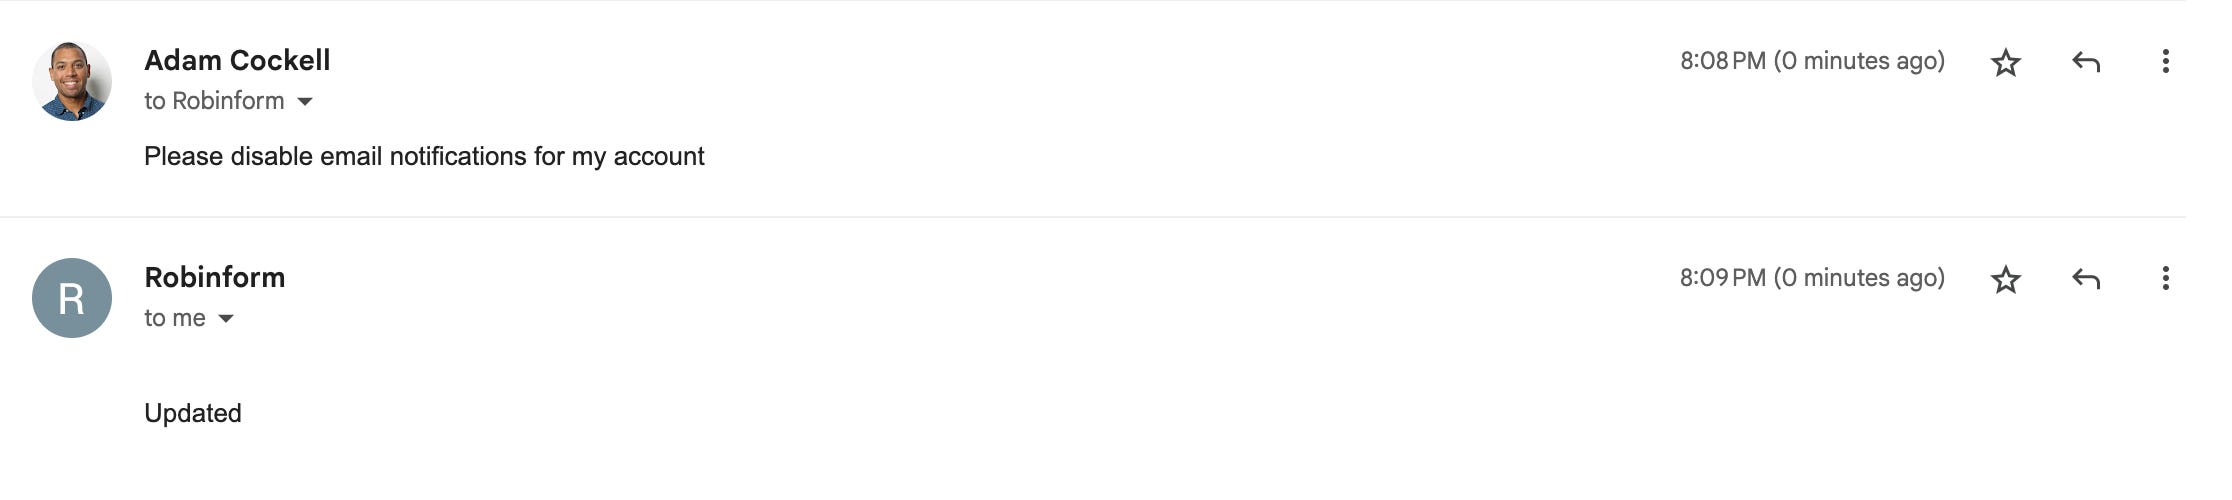
At any point in time, you can ask to enable notifications again.
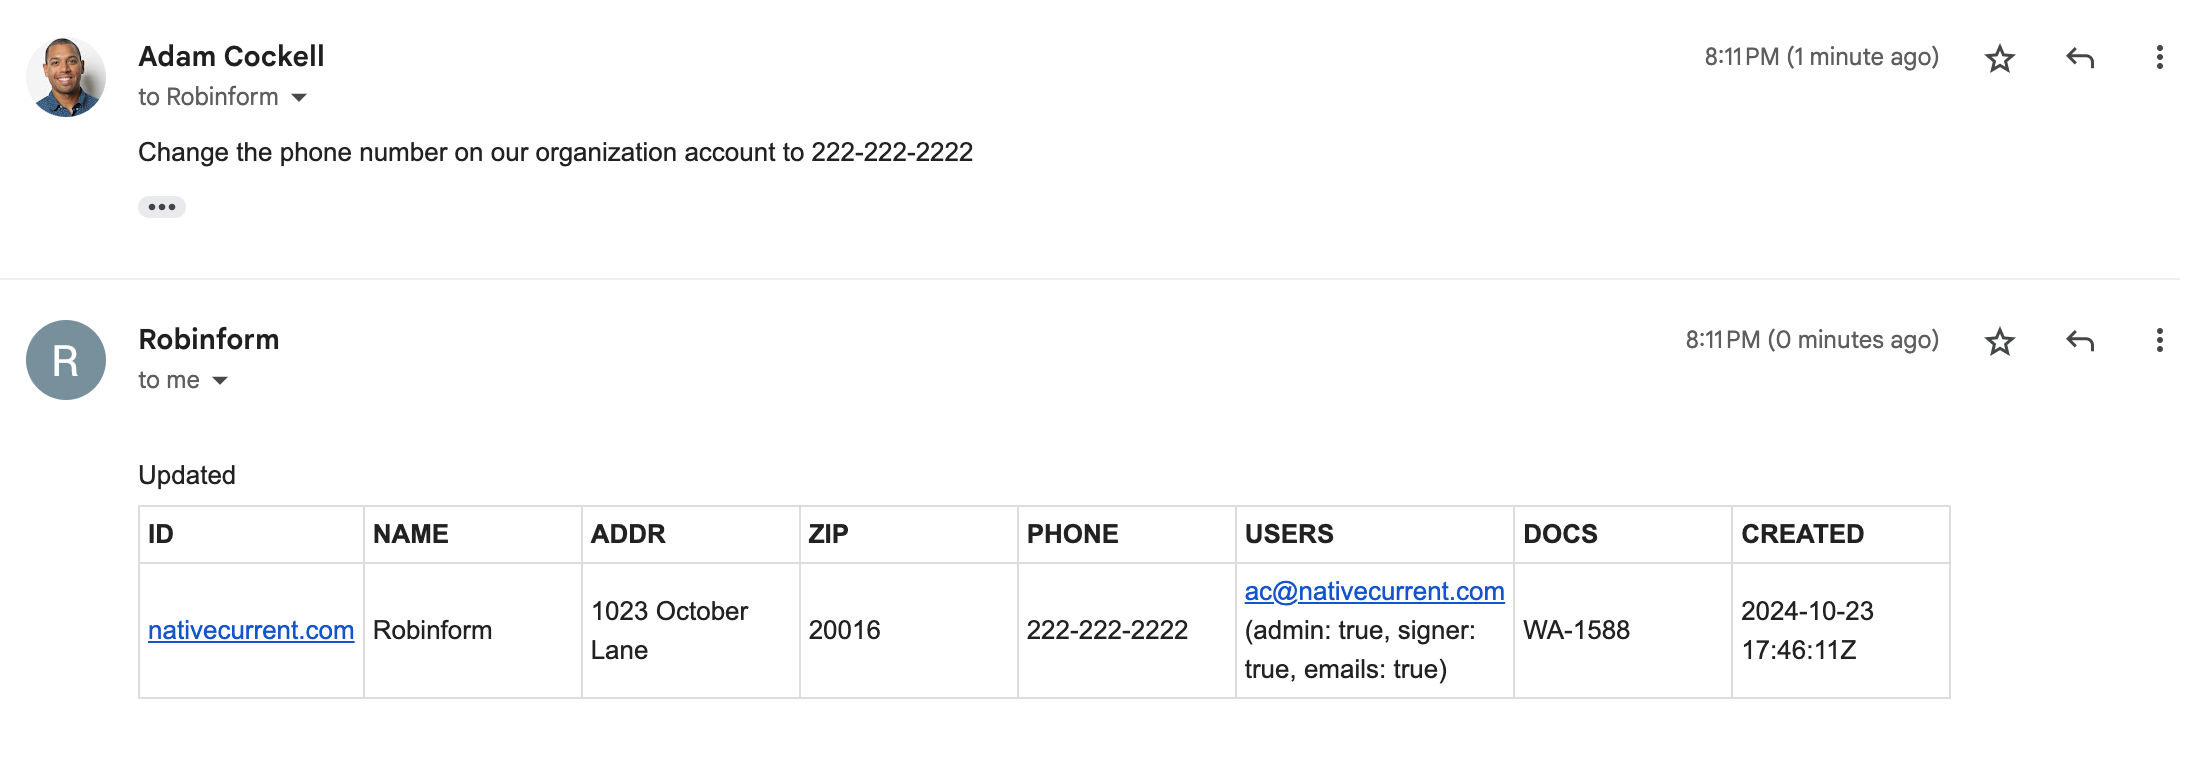
Change organization information (admin)
If you are an admin, you can update the name, address, phone number, city, state, and zip code for your organization. Reply to the sign-in email and specify what you want to update. For example, if you were to change the phone number you would say something like:
Change contact email address for your organization (admin)
You can reply to the sign-in email and update the contact email address for your organization. This is the email address that is displayed for your organization on the emails sent to past employers. It can be updated by admins. Same process as above, just say “update the email address for my organization to name@yourorgnization.com”
Pro Tip: If you have a general HR email address, this is a great place to use it!
Add/Remove/Update organization users (admin)
If you are an admin, you can create and manage the permissions for different users in your organization by replying to your sign-in email. Permissions are as follows:
admin (true / false) - can perform all functions
signer (true / false) - can sign requests on behalf of your organization
If not an admin or signer - can create and manage forms for new employees
Here are some templates you can copy/paste to update users for your account:
Adding new user
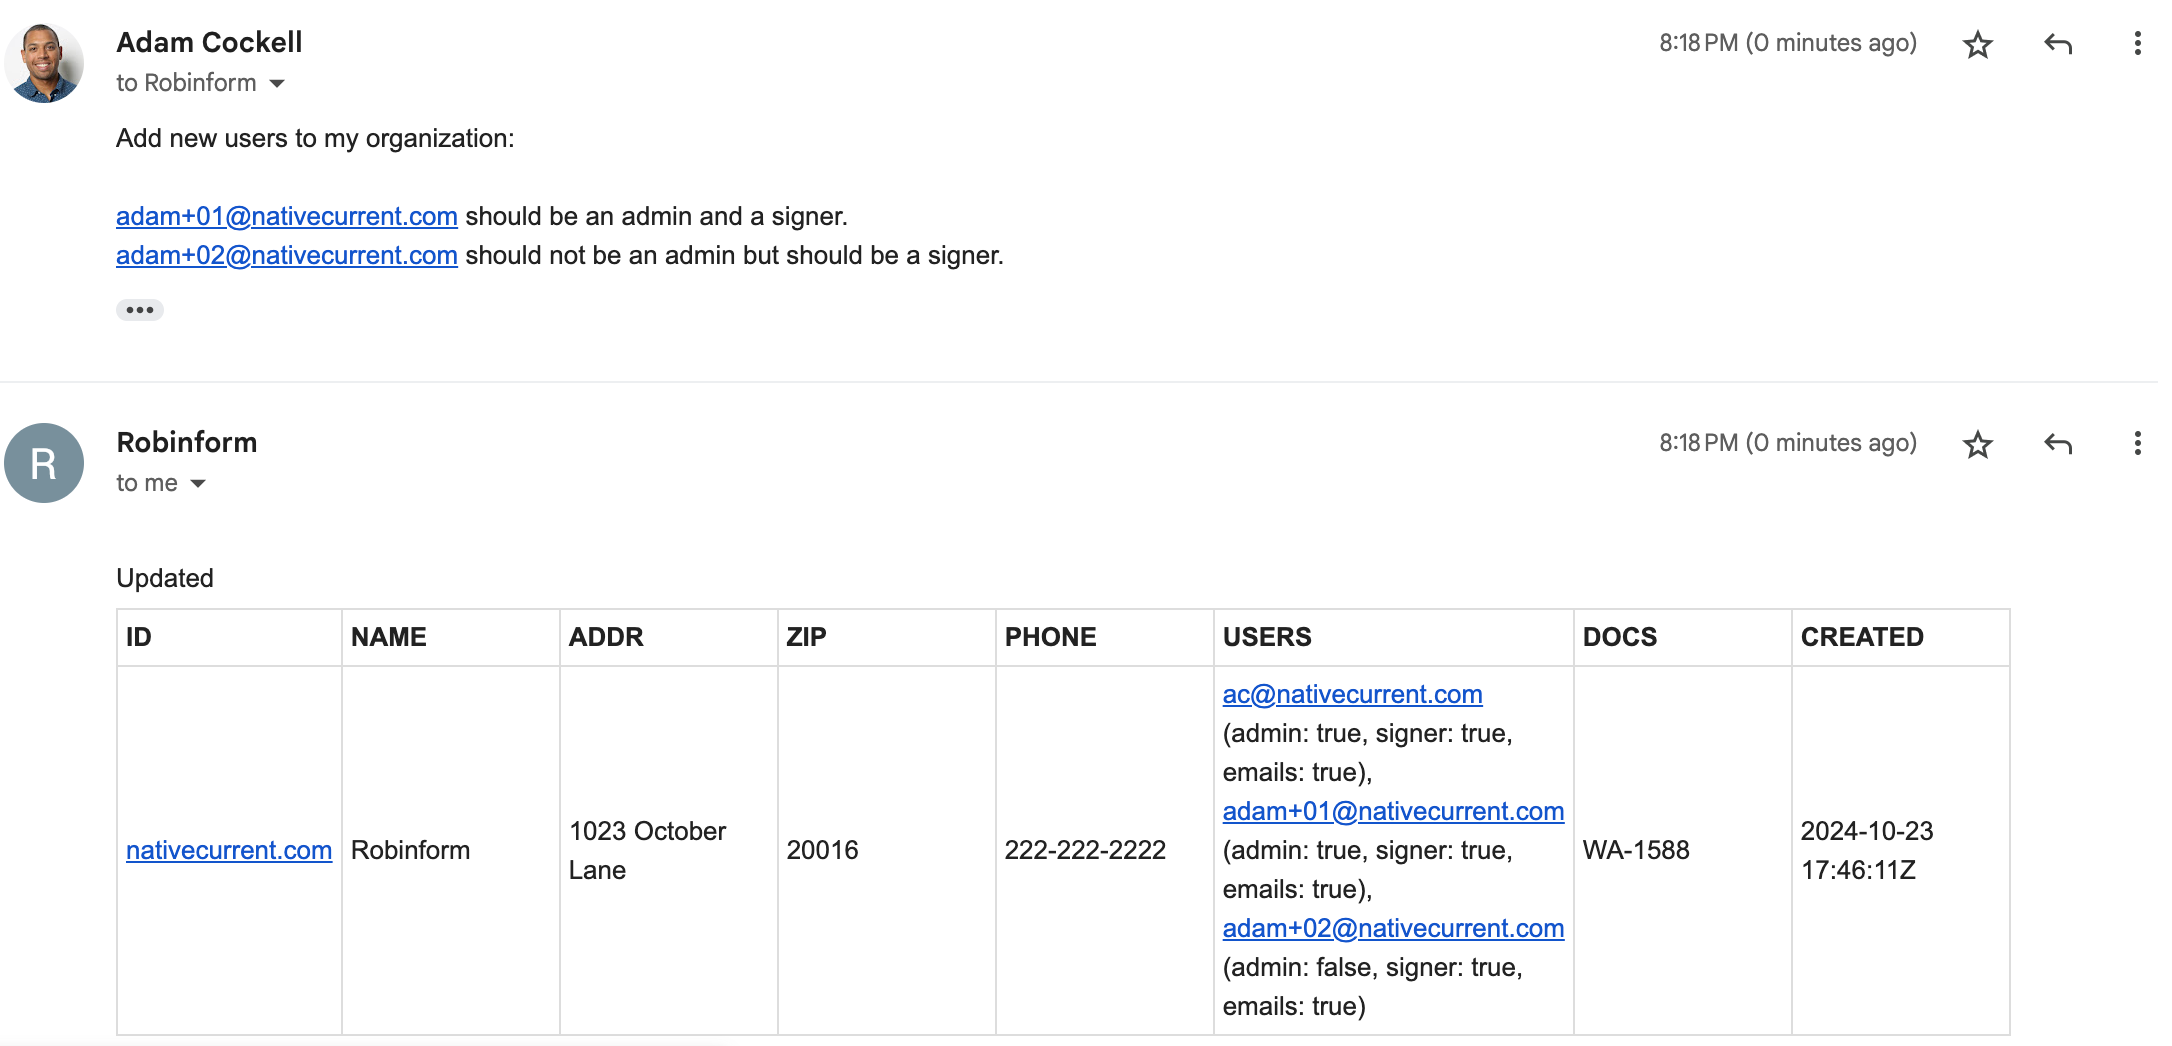
Add new user to my organization:
theirname@yourwebsite.com
Admin: false/true
Signer: false/true
Removing a user
Remove theirname@yourwebsite.com as a user from my organization
Changing admin status
Update users for my organization:
theirname@yourwebsite.com
admin: true/false
signer: true/false
You will then get a reply with a list of the users and their permissions, as you can see in the screenshot below: